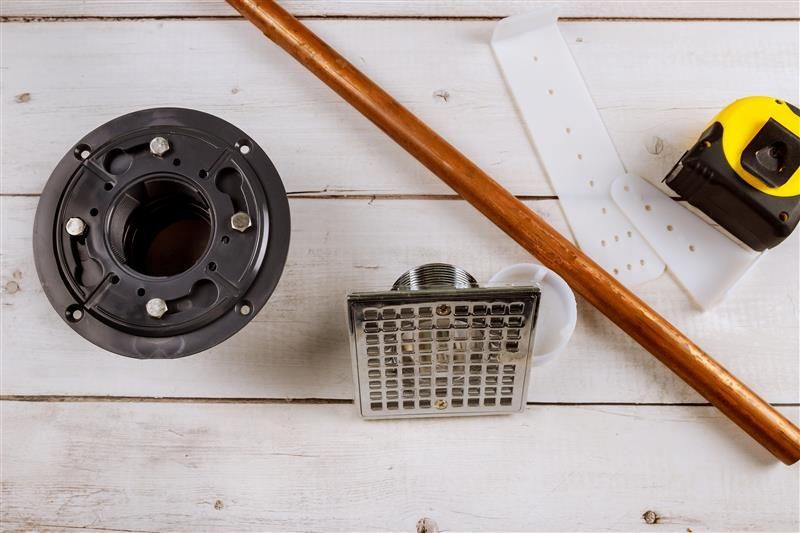
How Do You Remove an Old Shower Drain?
- Learn what tools are needed to remove an old shower drain safely.
- Identify your shower drain type before attempting removal.
- Clean and prep the area thoroughly for new drain installation.
- Call a pro if the drain is stuck, corroded, or pipe type is unclear.
You’re ready to upgrade your shower, but there’s one stubborn piece standing in your way: that old, worn-out drain. Whether it’s leaking, rusty, or just looks dated, replacing a shower drain can feel like a small task that’s deceptively tricky. But with the right approach (and a little patience), it’s totally doable. Let’s walk through how to remove that old drain the right way, so you can get on with your bathroom upgrade.
What tools are needed to remove an old shower drain?
Before you start unscrewing anything, make sure you’re equipped with the essentials. At a minimum, you’ll want a pair of channel-lock pliers, a flathead screwdriver, a utility knife, and possibly a drain wrench or dumbbell wrench, depending on the drain type. A reciprocating saw may be needed if things get more complicated, like when dealing with cast iron or stuck metal parts.
You’ll also want a bucket and towels nearby; water might still be lingering in the pipes. And don’t forget gloves and eye protection. Even though the job might seem small, safety matters when you're working with old, grimy hardware.
How do you determine the type of shower drain before removal?
One of the biggest mistakes people make is assuming all drains are created equal. Start by taking a close look. Most modern drains are either screw-in types or compression-style drains. Older showers might have drains that are soldered or cemented in, especially if the home is decades old.
If you have access from below, like through a basement or crawl space, you can often identify the type by inspecting how the drain connects to the plumbing stack. Otherwise, you’ll have to remove the strainer on top and investigate. Knowing the type of drain tells you whether a simple twist will do the job or if you're dealing with something more hands-on.
The Removal Process: Take It Step by Step
Once you know what you’re dealing with, it’s time to get to work. If it’s a screw-in drain, insert a drain wrench or pliers into the crossbars inside the drain and turn counterclockwise. This usually breaks the seal so you can lift the drain out. For compression-style drains, you may need to pry up the outer ring and pull the gasket out before the drain itself can be lifted.
Older or corroded drains might require more effort, or even a careful cut with a saw if they won’t budge. Just be cautious not to damage the shower base or surrounding pipes in the process.
How do you properly clean and prepare the area for a new drain installation?
After removing the drain, you’ll likely be left with a ring of old plumber’s putty, grime, or even mold. Start by scraping away any remaining sealant or putty using a putty knife or scraper. Then, clean the area with a bathroom-safe cleaner or diluted vinegar solution to remove debris and buildup.
Next, dry the area thoroughly. Any moisture left behind can interfere with the new seal. Inspect the flange or opening for cracks or signs of wear—this is your chance to repair any damage before installing the new drain. A clean, dry, and smooth surface is key to making sure your new drain seals properly and functions without leaks.
When should you call a professional plumber instead of attempting to remove the drain yourself?
Even a seemingly simple project like this can spiral if things don’t go according to plan. If you find that the drain is rusted in place and resists every attempt at removal, it might be fused to the piping. Or if you’re not sure what kind of piping you're working with—and especially if there’s any chance it connects to cast iron or older galvanized pipe—it's better to have a pro handle it.
You should also consider calling a plumber if you’re not confident in sealing or aligning the new drain. Improper installation can lead to slow leaks that damage flooring and subfloors over time. And if the project involves cutting into the shower base or accessing plumbing behind walls or ceilings, that’s another signal it’s time to bring in the experts.
Let Superior Plumbing Handle the Heavy Lifting
Removing an old shower drain can be a satisfying DIY job if everything goes smoothly. But if you're dealing with rusted fittings, mystery plumbing, or just want to make sure your new drain installation is watertight from the start, Superior Plumbing is ready to step in. Our pros bring the tools, experience, and peace of mind you need for a leak-free upgrade.
Call Superior Plumbing today and let us help you refresh your bathroom, starting from the ground (drain) up.
